
Zesty Orange Ginger Grilled Chicken Breast – Sweet Asian Style Glaze with Zing
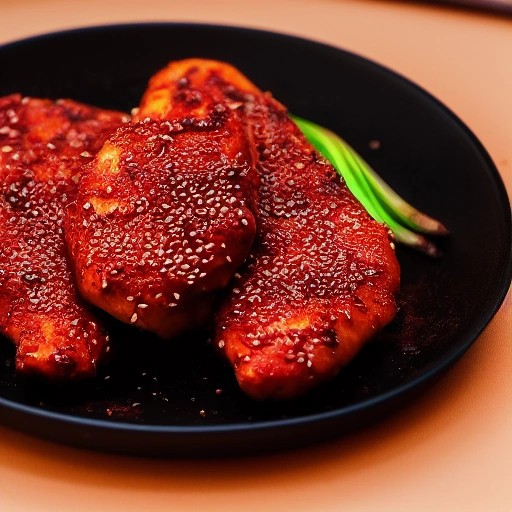
Brighten up your grill game with these Zesty Orange Ginger Grilled Chicken Breasts. The sweet, citrusy orange glaze is perfectly balanced with the warm, spicy kick of fresh ginger, creating a flavor that’s both refreshing and deeply savory. Grilled to juicy perfection with a beautiful caramelized sheen, this dish delivers that classic sweet and tangy Asian-style flavor that’s absolutely irresistible. It’s a vibrant, delicious meal that’s sure to become a family favorite.
This easy BBQ recipe brings the bright, bold flavors of Asian cuisine right to your backyard. The orange ginger glaze comes together in minutes and does double duty as a marinade and finishing sauce, infusing the chicken with incredible flavor while keeping it incredibly moist. Whether you’re using a charcoal grill for authentic smoky notes or a gas grill for convenience, this recipe is quick and simple to make. Perfect for weeknight dinners, summer cookouts, or any time you’re craving a little zing.
Recipe Summary
Prep Time: 15 mins
Cook Time: 15 mins
Total Time: 30 mins (plus 1-2 hours marinating)
Servings: 4
Difficulty: Easy
Ingredients
- 4 boneless, skinless chicken breasts (about 6-8 oz each)
- 2 tbsp vegetable oil
- 1 tsp salt
- 1/2 tsp black pepper
- Zest of 2 large oranges
- 1/2 cup fresh orange juice (about 2 oranges)
- 1/4 cup honey
- 1/4 cup soy sauce (low sodium recommended)
- 2 tbsp brown sugar
- 2 tbsp rice vinegar (or apple cider vinegar)
- 1 tbsp sesame oil
- 2 cloves garlic, minced
- 1 tbsp fresh ginger, grated
- 1/2 tsp red pepper flakes (optional, for heat)
- 1 tbsp cornstarch mixed with 2 tbsp water (slurry, optional)
- Toasted sesame seeds
- Green onions, thinly sliced
- Fresh orange slices
For the Orange Ginger Glaze:
For Garnish:
Step-by-Step Instructions
- Make the Orange Ginger Glaze: In a small saucepan, combine the orange zest, orange juice, honey, soy sauce, brown sugar, rice vinegar, sesame oil, garlic, ginger, and red pepper flakes (if using). Bring to a simmer over medium heat, stirring occasionally. Reduce heat and let it bubble gently for 5-7 minutes until the flavors meld and the sauce thickens slightly. If you prefer a thicker glaze, whisk in the cornstarch slurry and cook for 1-2 minutes until glossy. Remove from heat and set aside. Reserve about 1/4 cup of the glaze for brushing during grilling and another 1/4 cup for serving.
- Prep and Marinate the Chicken: Pat the chicken breasts completely dry with paper towels. This is essential for getting a good sear on the grill. In a large bowl or shallow dish, combine the chicken with vegetable oil, salt, and pepper. Pour about 1/4 cup of the orange ginger glaze over the chicken and toss to coat. Cover and refrigerate for at least 1 hour, or up to 4 hours.
- Fire Up the Grill: Preheat your grill to medium-high heat (around 400°F). For a charcoal grill, set up a two-zone fire with coals on one side for direct heat and a cooler indirect zone on the other. For a gas grill, preheat all burners, then turn one off to create an indirect cooking area. Clean and oil the grates.
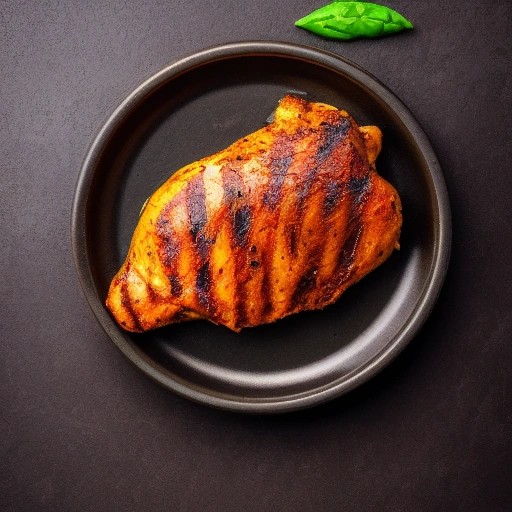
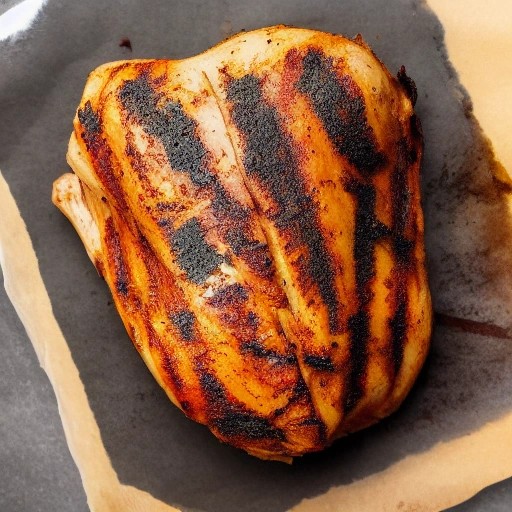
- Grill the Chicken: Remove the chicken from the marinade, letting any excess drip off. Place the chicken breasts on the direct heat side of the grill. Cook for 5-6 minutes per side until you get nice, golden-brown grill marks. Move the chicken to the indirect heat side, close the lid, and cook for another 5-8 minutes. During the last 5 minutes, brush the chicken generously with the reserved orange ginger glaze. Flip and brush the other side. The chicken is done when it reaches an internal temperature of 165°F.
- Rest and Serve: Remove the chicken from the grill and let it rest on a cutting board for 5-10 minutes. This allows the juices to redistribute. Slice the chicken breasts against the grain and drizzle with the remaining fresh glaze. Garnish with toasted sesame seeds, green onions, and fresh orange slices. Serve immediately.
Tips for Orange Ginger Chicken Perfection
- Use Fresh Orange Juice and Zest: Freshly squeezed orange juice and zest are essential for the bright, vibrant flavor of this dish. The bottled stuff just doesn’t compare. Roll the oranges on the counter before juicing to get the most juice out of them.
- Don’t Over-Marinade: The acidity in the orange juice can start to break down the chicken if left too long, resulting in a mushy texture. Stick to 1-4 hours for the best results. The honey and brown sugar help balance the acidity.
- Watch the Sugar: The honey and brown sugar in the glaze can burn quickly on the grill. Apply the glaze during the final 5 minutes of cooking and keep the chicken on the indirect heat side once the glaze is applied to prevent burning.
- Reserve Some Glaze: Always set aside some glaze before brushing it onto the raw chicken. This prevents cross-contamination and gives you a fresh, thick sauce for drizzling over the finished chicken.
- Get That Glossy Finish: For the ultimate glossy, sticky coating, apply the glaze in thin layers during the final minutes of cooking. Each layer will caramelize slightly, building up that signature orange ginger sheen.
Delicious Variations
- Spicy Orange Ginger Chicken: Add 1-2 chopped Thai bird’s eye chilies to the glaze for a serious heat kick that balances the sweetness.
- Smoked Orange Ginger Chicken: Smoke the chicken on a pellet grill or smoker at 225°F for 45 minutes, then finish over high heat with the glaze. Use apple or cherry wood for a mild, sweet smoke.
- Honey Orange Ginger Chicken: Replace the brown sugar with an extra 1/4 cup of honey for a lighter, more floral sweetness.
- Lemon Ginger Chicken: Swap the orange juice and zest with lemon for a brighter, tangier version that’s equally delicious.
- Pineapple Ginger Chicken: Add 1/4 cup of pineapple juice to the glaze for a tropical twist that’s perfect for summer.
Storage and Reheating Instructions
Storage: Store leftover chicken and glaze separately in airtight containers in the refrigerator for up to 3-4 days.
Reheating: The best way to reheat this chicken is on the grill or in the oven to restore that crispy exterior and glossy glaze. Preheat your oven to 375°F and bake for 8-10 minutes, or reheat on the grill over medium heat for 3-4 minutes per side. You can brush on a little extra glaze after reheating for that fresh, glossy finish. Avoid microwaving, as it will make the chicken tough and the glaze sticky.
Freezing: The cooked chicken freezes well for up to 2 months. Thaw in the refrigerator overnight before reheating. Add fresh sesame seeds and green onions after reheating for the best flavor and texture.
Frequently Asked Questions (FAQ)
Can I use this orange ginger glaze on other grilled meats?
Absolutely! This glaze is fantastic on grilled chicken thighs, pork chops, salmon, shrimp, or even tofu. It’s also delicious as a dipping sauce for spring rolls or as a stir-fry sauce for vegetables.
What’s the best way to get grill marks on chicken breasts?
Make sure your grill grates are clean and well-oiled. Pat the chicken dry before placing it on the grill—moisture prevents good searing. Place it on the direct heat side and resist the urge to move it for 5-6 minutes to allow those beautiful marks to form.
Can I make the orange ginger glaze ahead of time?
Yes! The glaze can be made up to a week in advance and stored in an airtight container in the refrigerator. The flavors actually meld and deepen over time. When you’re ready to use it, simply warm it up gently on the stovetop or in the microwave before brushing it onto the chicken.
What sides go well with orange ginger chicken?
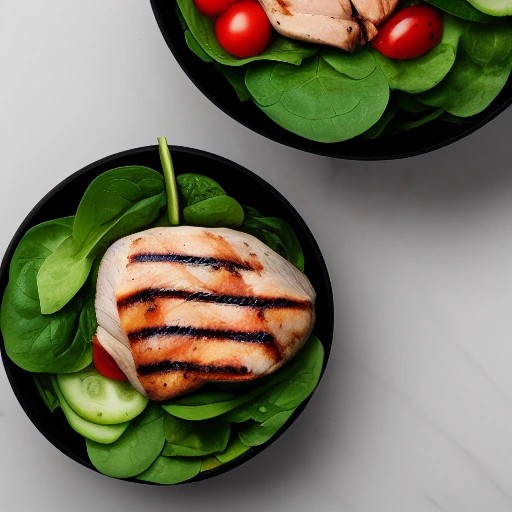
This chicken pairs beautifully with steamed rice, fried rice, stir-fried vegetables, or a fresh Asian slaw. For a lighter option, serve it with a cucumber salad or grilled vegetables. A cold Asian beer or iced green tea is the perfect drink pairing.
How do I get the skin crispy if I use bone-in chicken?
If you prefer bone-in, skin-on chicken breasts, the same principles apply—pat the skin dry, season well, and grill over direct heat first to crisp up the skin, then finish cooking over indirect heat. The orange ginger glaze should still be applied during the final 5 minutes to prevent burning.