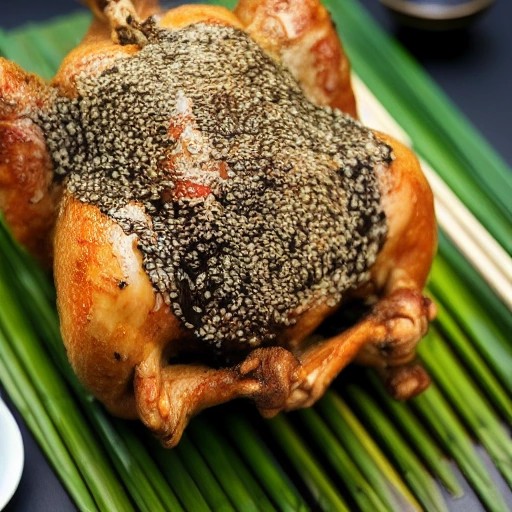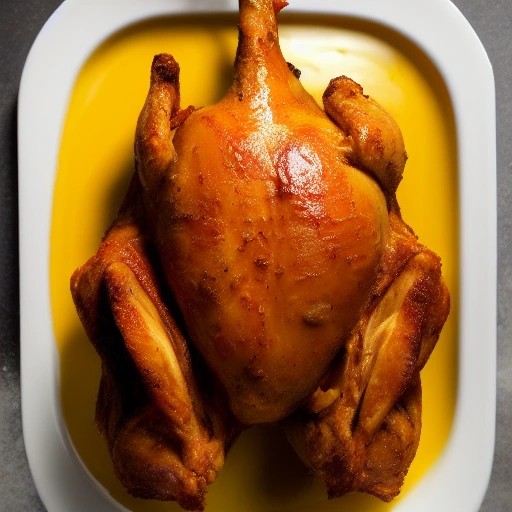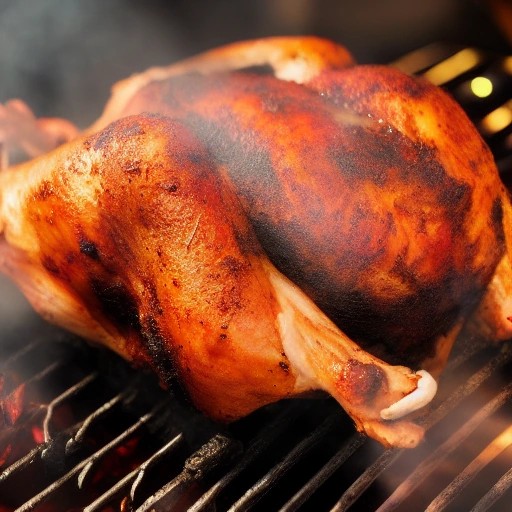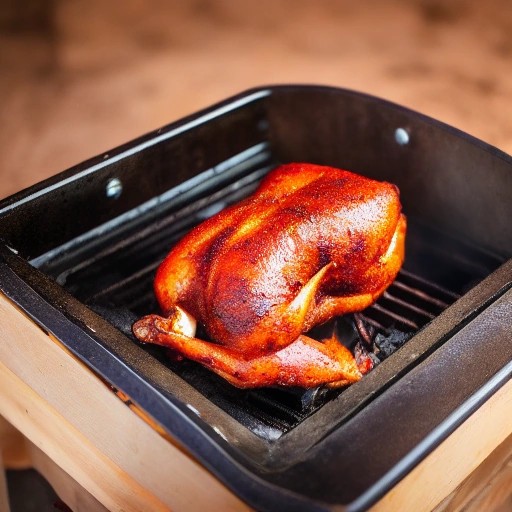
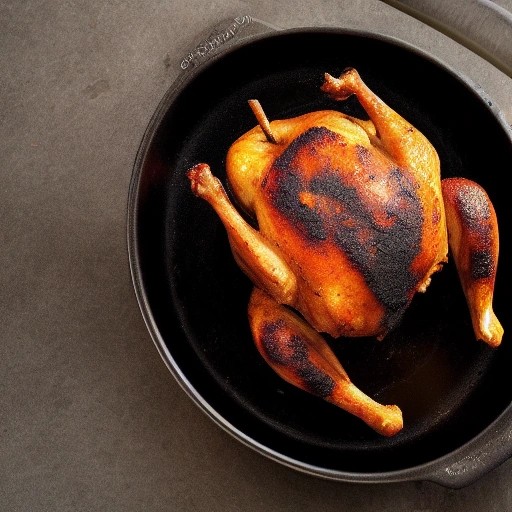
Classic Beer Can Grilled Chicken on Charcoal – Ultra Moist, Juicy & Smoky Sensation
There’s a reason beer can chicken has become a cult favorite among backyard grill masters . The upright cooking position allows hot air to circulate evenly around the bird, rendering fat and crisping the skin on all sides while the steaming beer keeps the meat incredibly moist . It’s a classic technique that delivers that ultra-juicy, smoky sensation that charcoal grilling is famous for .
This recipe is designed for charcoal grills, where the combination of glowing coals and a gentle, indirect heat creates the perfect environment for beer can chicken . The result is a bird that’s remarkably tender inside with beautifully charred, crispy skin outside . Whether you’re a seasoned pitmaster or just starting your grilling journey, this guide will walk you through each step to achieve a moist, juicy, and deeply flavorful chicken that’s sure to impress. Let’s fire up the grill!
Recipe Summary
Prep Time: 20 mins
Cook Time: 1 hour 15 mins
Total Time: 1 hour 35 mins (plus 4 hours chill time)
Servings: 4
Difficulty: Easy
Ingredients
- 1 whole chicken (about 3½ to 4 lbs)
- 1 can (12 oz) light beer, half empty
- For the Dry Rub:
- 2 tbsp smoked paprika
- 2 tbsp light brown sugar
- 1 tbsp kosher salt
- 1 tsp ground cumin
- 1 tsp freshly ground black pepper
- 1 tsp cayenne pepper (optional, for heat)
Step-by-Step Instructions
- Season the Chicken: In a small bowl, whisk together the smoked paprika, brown sugar, salt, cumin, black pepper, and cayenne (if using) . Pat the chicken completely dry with paper towels . Sprinkle the rub generously all over the outside and inside the cavity. For the best flavor, chill the seasoned chicken in the fridge, uncovered, for at least 4 hours or overnight .
- Preheat Your Charcoal Grill: Take the chicken out of the fridge about 1 hour before cooking to remove the chill . Prepare your charcoal grill for indirect heat. Arrange the hot coals on the two sides of the grill, leaving the center empty. Place a drip pan filled with ½ inch of water in the center. This setup ensures even cooking without burning the chicken .
- Prepare the Chicken and Can: Open the can of beer and pour out (or drink) about half of it . You can add a teaspoon of your dry rub into the beer can for extra flavor . Place the beer can on a stable surface and slide the chicken over it, with the can fitting snugly inside the cavity. Pull the legs forward to form a “tripod” so the bird stands upright .
- Grill the Chicken: Carefully transfer the upright chicken to the center of the grill, directly over the drip pan and away from the direct heat . Cover the grill and cook for approximately 1 hour to 1 hour and 15 minutes . The chicken is done when an instant-read thermometer inserted into the thickest part of the thigh (without touching the bone) registers 165°F .
- Rest and Serve: Using sturdy tongs, carefully transfer the chicken, still on the can, to a cutting board or platter . Let it rest for 10 to 15 minutes . This allows the juices to redistribute, ensuring the meat is incredibly moist. Use tongs and a kitchen towel to carefully remove the hot beer can . Carve the chicken and serve immediately.
Essential Grilling Tips
- Mastering Indirect Heat: This is the golden rule of beer can chicken . Never place the chicken directly over the coals. The indirect heat allows the skin to crisp perfectly while the meat cooks slowly and stays moist .
- Keeping it Stable: To prevent the chicken from tipping over, treat the beer can as the third leg of a “tripod.” The chicken’s legs, pulled forward, act as the other two legs .
- Don’t Skip the Dry Pat-Down: Patting the chicken’s skin completely dry before applying the rub is essential for achieving that ultra-crispy skin .
- Let it Rest: Resting the chicken for 10-15 minutes after grilling is a crucial step that shouldn’t be skipped. It prevents the juices from running out when you carve, ensuring a moist and flavorful result .
Delicious Variations to Try
- Spicy Version: For those who like heat, double the cayenne pepper in the rub or use a spicy beer for an extra kick .
- Sweet Version: For a sweeter, smokier crust, you can replace the brown sugar with a sweeter rub.
- Alternative Liquid: While light beer is traditional, the technique works well with other liquids like hard cider, soda, or even wine .
Storage and Reheating Instructions
Storing Leftovers: Remove the leftover chicken from the bone and store it in an airtight container in the refrigerator for up to 3-4 days.
Reheating Without Drying: The best way to reheat leftover beer can chicken is in the oven or toaster oven to help keep the skin crispy. Place the pieces on a wire rack over a baking sheet and heat at 350°F for 10-15 minutes until warmed through.
Frequently Asked Questions (FAQ)
How long does it take to grill beer can chicken?
For a 3½ to 4-pound bird, the cooking time is typically between 1 hour and 1 hour and 15 minutes over indirect heat . Always rely on a meat thermometer to check that the internal temperature of the thigh is at 165°F .
What’s the best beer to use for beer can chicken?
A light lager or a standard can of beer is recommended because it provides a subtle flavor that won’t overpower the chicken . You can also use non-alcoholic beer, hard cider, or even soda .
Is the beer can method safe?
Yes. Reputable sources confirm that the heat from the grill doesn’t get hot enough to melt the can’s lining or release harmful chemicals into the food . The steam and flavor from the beer are what primarily affect the chicken.
Can I use this recipe on a gas grill?
This recipe focuses on a charcoal grill for maximum smoky flavor. However, the technique works on a gas grill too. Simply set the grill up for indirect heat by turning off the burner(s) under where the chicken will sit, and preheat to medium, following the same time and temperature guidelines .